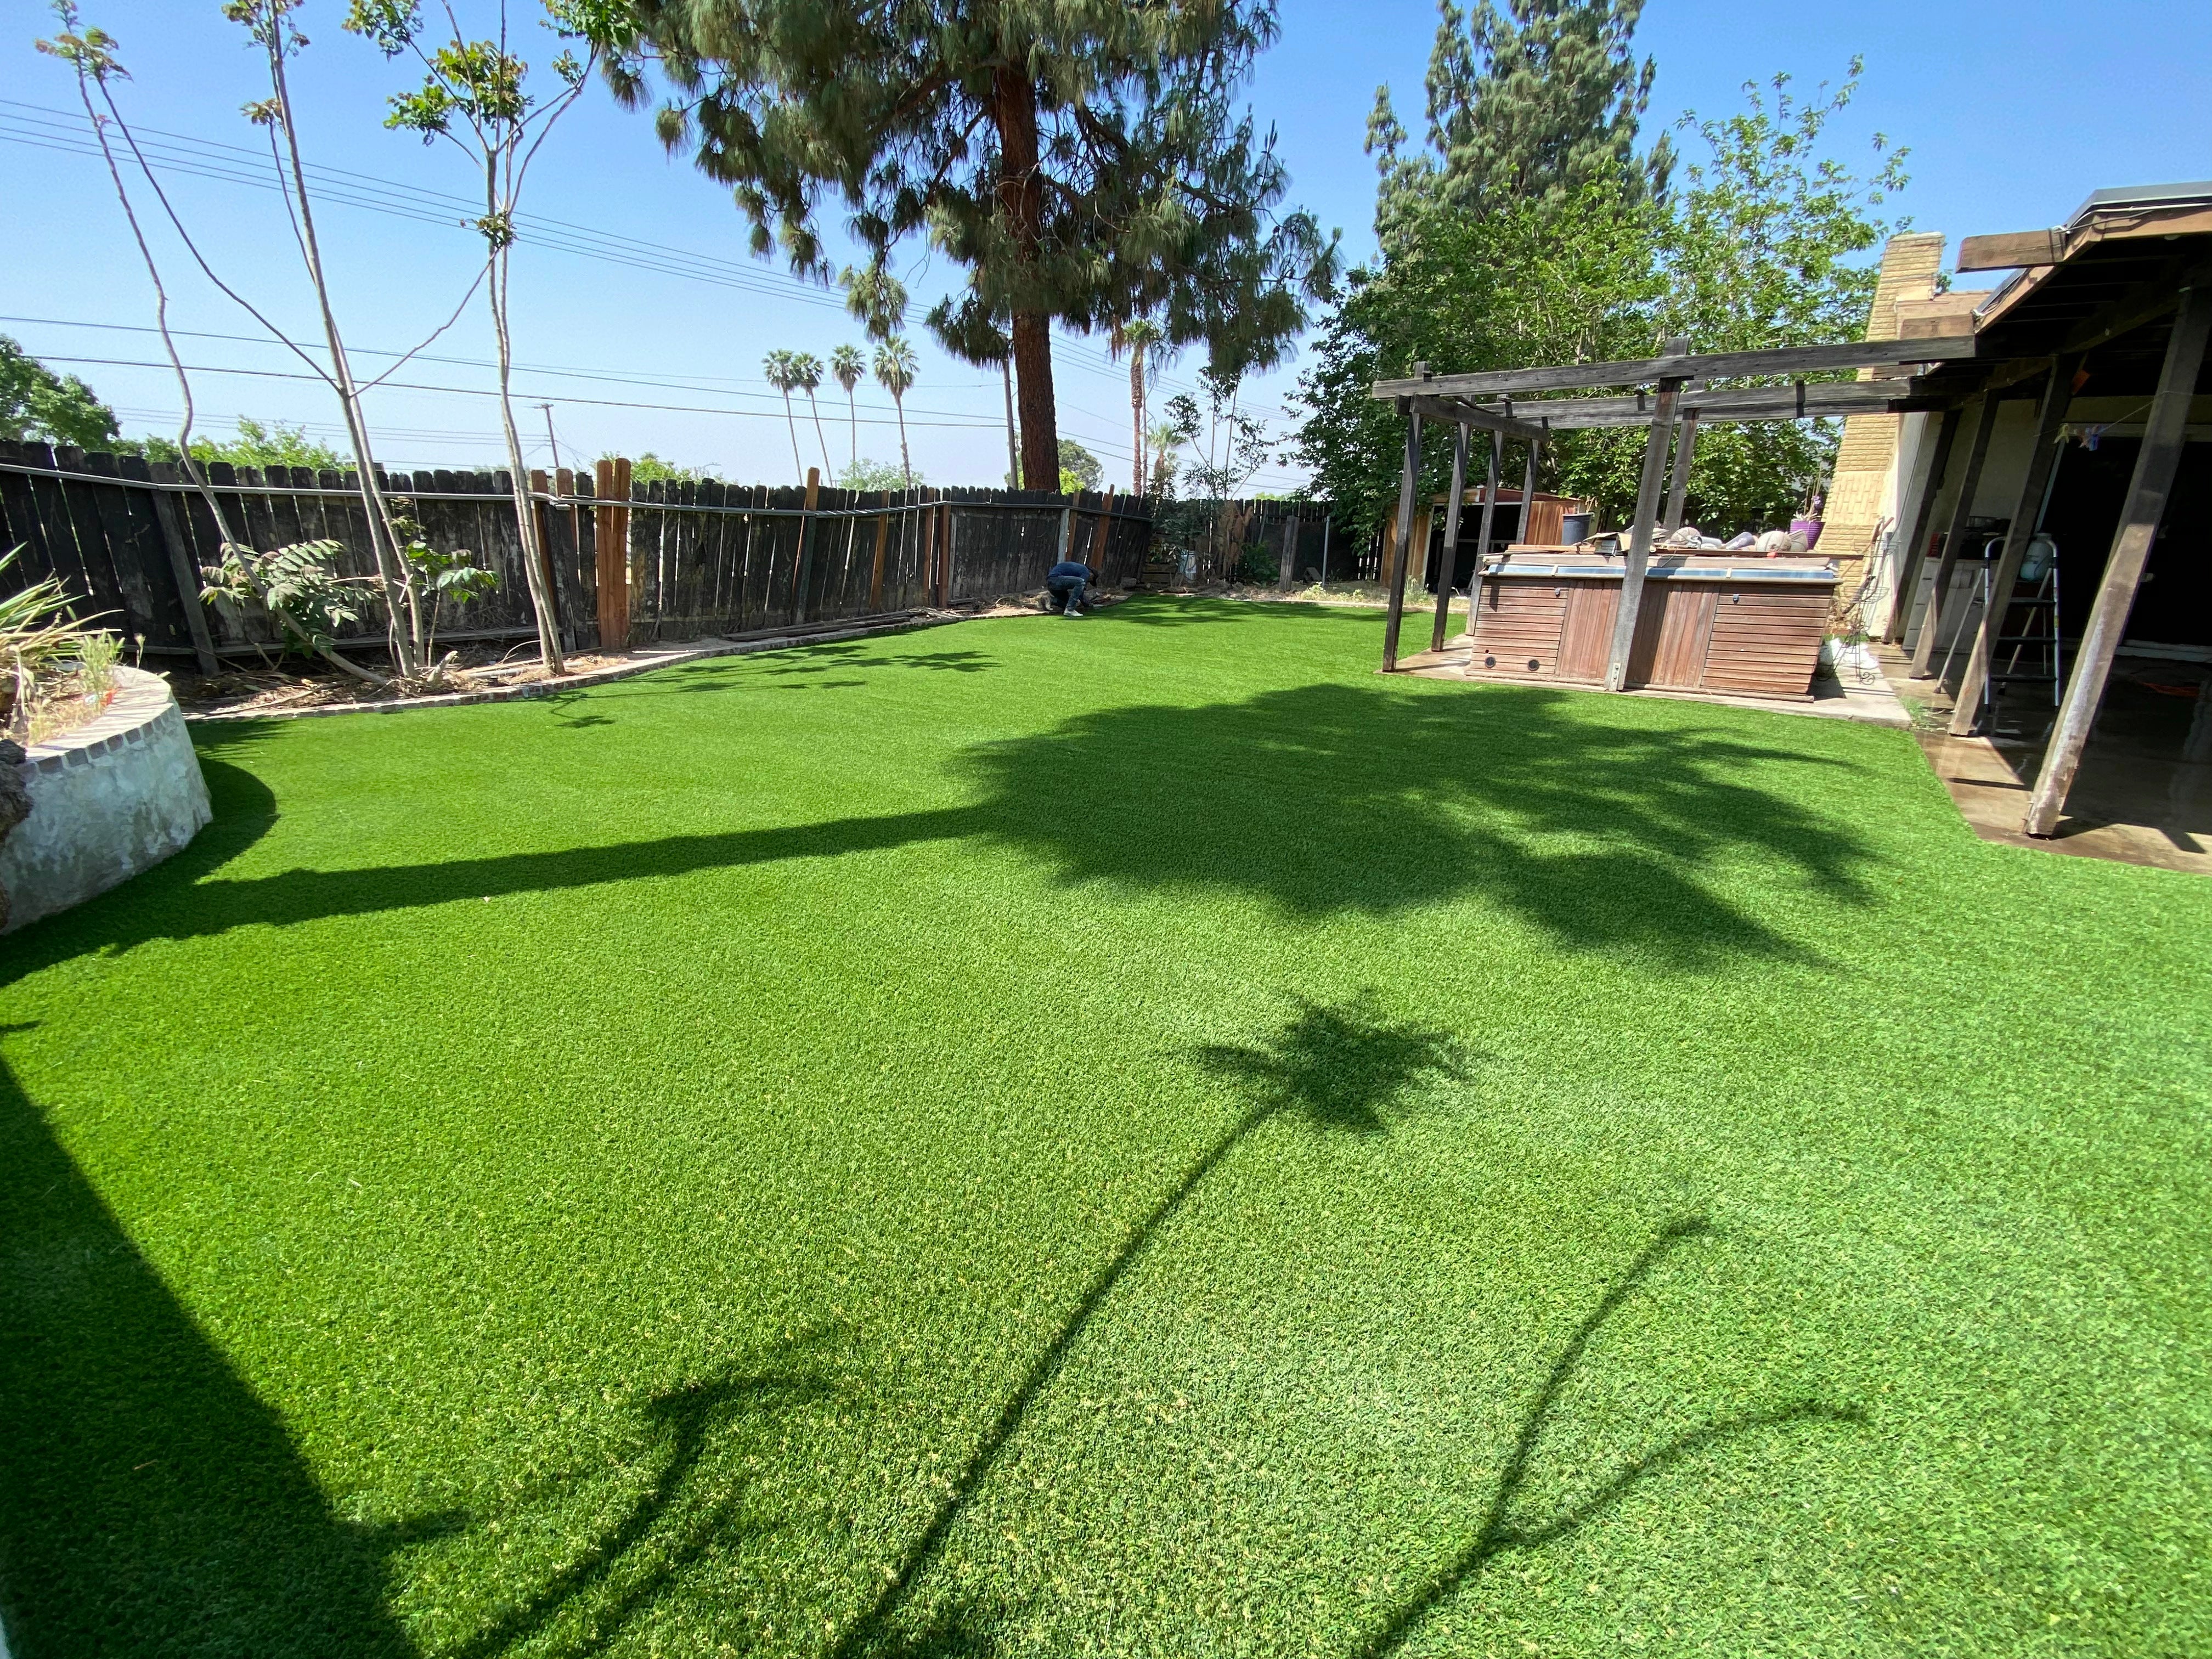
Artificial turf installation is an important process that determines the appearance, performance, and longevity of your final lawn. In this blog post, we’ll take an in-depth look at the artificial turf installation process, covering a series of key steps and providing some professional advice to ensure you get the best results.
Preparation
Before installing artificial turf, you need to do some preparation. First, clean and clear the installation area, including removing any turf, weeds, roots and stones. Make sure the floor is flat and has no protruding objects. If necessary, perform soil trimming to ensure an even surface.
Pro tip: In preparation, make sure the floor is even and free of holes or depressions. This will help ensure that the artificial turf is laid evenly and avoid an uneven appearance.
Infrastructure
Artificial turf requires a solid foundation to ensure it is stable and durable. Often, establishing a gravel or gravel base is necessary. This layer of foundation will provide drainage function to ensure that rainwater can drain away quickly and avoid water accumulation.
Pro tip: Adding fine sand to the base layer can improve stability and drainage. Make sure to use a vibrator to vibrate the foundation to ensure it is compact.
Laying of turf
Once the foundation is complete, installation of artificial turf can begin. Before doing this, make sure to measure and mark the correct location and dimensions. Generally, artificial turf should be laid in the same direction as the light for best results.
Pro tip: Use a sharp knife, such as a razor blade or carpet knife, to ensure precise cutting and splicing of the turf. Do not allow turf to overlap or leave cracks.
Securing and securing items
When installing artificial turf, make sure it is securely fastened to prevent movement or bubbling. Typically, fixing items such as turf fixing nails or ground fixing glue are used. These items should be evenly distributed around the edges and central areas of the turf.
Pro tip: If you use ground fixing glue, make sure it's evenly distributed under the entire turf to ensure a secure hold. At the same time, avoid excessive use of glue to avoid spillage of fixed items.
Develop turf details and edges
Turf detailing and edge preparation are critical steps in ensuring the entire installation looks perfect. Using a professional cutter, trim the edges of the turf to ensure it fits snugly into its surroundings. Also, check the gaps in the turf to make sure nothing is loose.
Pro tip: Install edge fencing or edge guards around the edges of your turf to prevent warping or damage to your turf. This will provide extra protection and aesthetics.
Detail work and maintenance
Once artificial turf is installed, detail work and maintenance are key to ensuring its long-term performance. Clean your turf regularly, using a soft brush or vacuum to remove dust and dirt. Also, check the turf’s gaps and fasteners to make sure they are still secure.
Pro Tip: Groom your turf regularly to ensure the fibers stay upright, maintaining appearance and comfort. If there is any damage or looseness, repair it promptly.
In summary, artificial turf installation is a critical process that requires careful planning and implementation. Following the above steps and professional advice will ensure the best appearance, performance and longevity of your artificial turf. If you are not sure how to install it, it is recommended to consult a professional artificial turf supplier or installation expert who can provide professional help and advice.


Share:
Artificial Turf vs. Natural Turf: How to Choose the Right Turf for You
Golf artificial turf: improving course quality and gaming experience