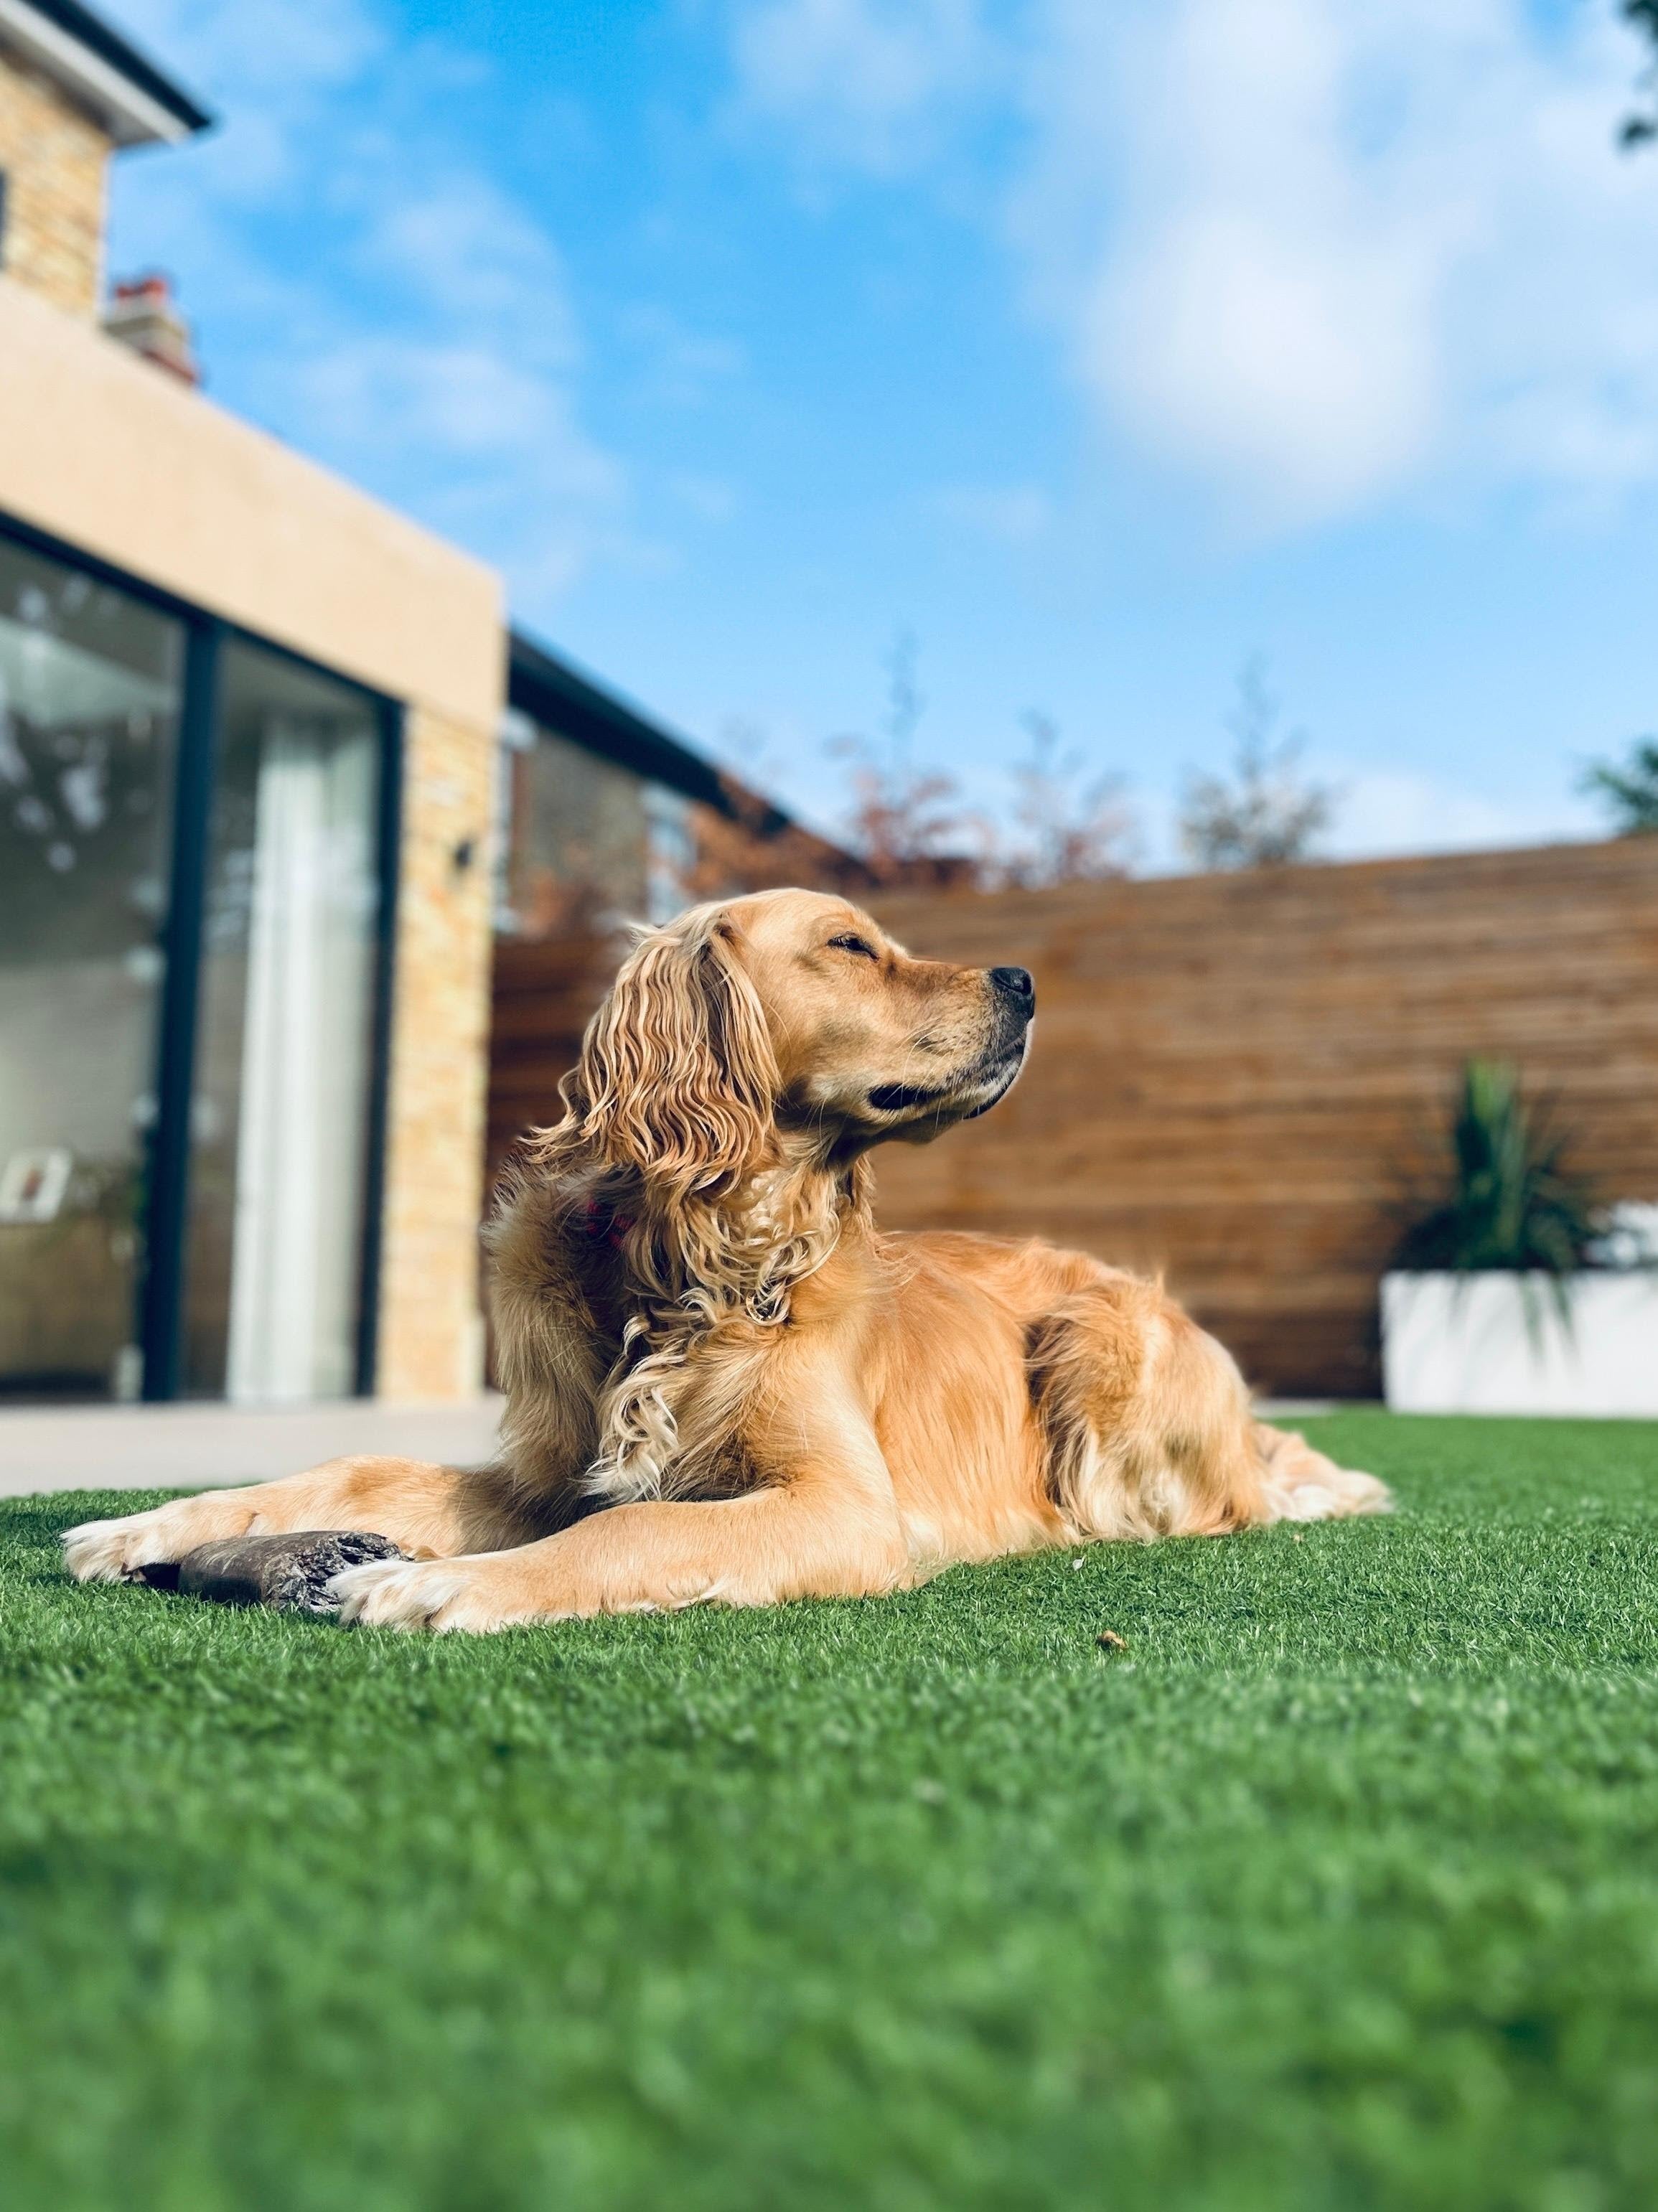
Is your backyard full of muddy paw prints and brown patches?
Transforming your yard into a pet paradise is easier than you think. As dog owners ourselves, we know the struggle of maintaining natural grass. That's why we created this step-by-step guide to help you install PetGrow Artificial Grass—the perfect solution for a clean, green, and safe play area.

Here is how you can do it yourself (DIY) this weekend!
🛠️ Tools & Materials You Will Need:
-
Artificial Grass: We recommend the PetGrow 0.4 inch Artificial Turf (Voted Best Overall by The Spruce Pets!) or our 1.38 inch Standard Grass for a lush look.
-
PetGrow Heavy Duty Weed Barrier (To prevent weeds from growing underneath).
-
Self-Adhesive Artificial Lawn Tape (For joining pieces together).
-
Galvanized U-Type Turf Staples (To secure the grass).
-
Utility knife, hammer, and a rake.
Step 1: Clear and Prep the Area
First, remove existing grass, weeds, and rocks. Dig down about 2-3 inches to create space for the base. Ensure the ground is level and smooth. 💡 Pro Tip: Good drainage is key for dog owners! Make sure the ground slopes slightly away from your house to help rain and urine drain easily.
Step 2: Lay the Weed Barrier
Before rolling out the grass, cover the soil with a Weed Barrier Landscape Fabric. This is a crucial step. It stops weeds from poking through your beautiful new lawn while still allowing water to drain through.
Step 3: Roll Out Your Artificial Grass
Unroll your turf and let it sit in the sun for an hour. This helps the fibers stand up and makes it easier to work with.
-
Important: Make sure the grain (the direction the grass blades point) is facing towards your house. This gives the best visual appearance from your window.
Step 4: Join the Seams (If using multiple rolls)
If you have a large backyard, you might need to join two pieces of turf. Forget messy glue! Use our PetGrow Artificial Lawn Tape. Simply place the tape under the seam, peel off the backing, and press the two grass edges together firmly. It’s super strong and easy to use.

Step 5: Secure the Edges
This is the most important step for dog owners! You don't want your pup digging up the corners. Use PetGrow U-Type Turf Staples every 6 inches along the edges and seams. Our staples are galvanized and rust-resistant, ensuring a long-lasting hold even in rain and snow.
Step 6: Fluff and Enjoy!
Use a stiff broom or rake to brush the grass fibers upright. Congratulations! You now have a mud-free, pee-friendly oasis. No more mowing, no more watering, and no more muddy paws in the house.
Ready to transform your backyard? 👉 Shop the PetGrow Artificial Grass Collection Here
Share:
Eco-Friendly Artificial Grass Guide: Safe, Non-Toxic & Sustainable Turf Options
2025 Artificial Grass Cost Guide: Price Per Sq. Ft. & Installation Breakdown