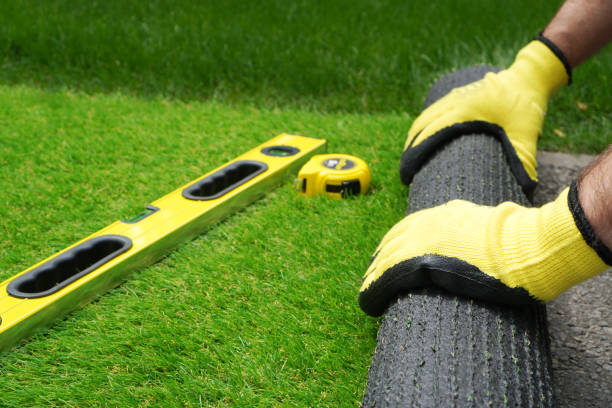
Welcome to the comprehensive guide on mastering the art of artificial turf installation. Whether you're enhancing your residential landscape or upgrading a commercial sports field, this step-by-step guide will ensure a professional-quality installation. Let's dive into each stage with detailed instructions and important precautions to achieve outstanding results.
Step 1: Prepare the Surface
Before starting your installation, thoroughly clean and clear the area of any debris, rocks, or vegetation. Ensure the ground is level and free from dips or bumps. Use a rake or shovel to even out the surface, and consider using a level to confirm uniformity. Precaution: Check for any underground utilities or irrigation systems before digging.

Step 2: Lay the Base Material
Spread a layer of crushed rock or decomposed granite evenly over the prepared surface. Aim for a depth of 2-3 inches, ensuring proper drainage. Compact the base material using a plate compactor, working in small sections to achieve a firm, level foundation. Precaution: Avoid over-compacting the base material, as it may lead to drainage issues or unevenness.

Step 3: Install Edging
Place sturdy edging along the perimeter of the installation area to define the edges and prevent turf movement. Secure the edging with stakes or screws, ensuring it sits flush with the ground. Leave a small gap between the edging and the turf to allow for water drainage. Precaution: Ensure the edging is securely fastened to prevent shifting or separation over time.

Step 4: Roll Out the Turf
Carefully unroll the artificial turf across the prepared surface, positioning it to align with the edges and corners. Avoid dragging the turf, as this can damage the backing or fibers. Trim any excess turf with a sharp utility knife, ensuring clean edges. Precaution: Handle the turf with care to avoid tearing or stretching during installation.

Step 5: Seam and Secure
If your installation requires multiple turf pieces, use seam tape and adhesive to join them together. Apply the adhesive evenly along the seam and press the edges firmly together. Secure the turf in place by nailing or stapling it to the base material every 6-8 inches along the edges and seams. Precaution: Use caution when applying adhesive to avoid spills or drips, and ensure proper alignment of the turf pieces to prevent visible seams.

Step 6: Add Infill (Optional)
For added stability and a natural look, consider adding infill material to the turf. Spread the infill evenly over the surface and use a power broom or stiff-bristled brush to work it into the turf fibers. This will help support the blades and improve drainage. Precaution: Avoid overfilling the turf with infill, as excessive amounts can affect drainage and lead to unevenness.

Step 7: Brush and Fluff
Once the installation is complete, use a stiff-bristled brush to fluff up the turf fibers and achieve a uniform appearance. Brush against the grain to encourage the fibers to stand upright and create a natural look. Precaution: Use gentle brushing motions to avoid damaging the turf fibers, and inspect the entire installation for any loose edges or seams that may need reinforcement.

Congratulations on mastering the art of artificial turf installation! By following these step-by-step instructions and taking necessary precautions, you can achieve a professional-quality result that will enhance any outdoor space. Enjoy your beautiful, low-maintenance landscape for years to come.


Share:
Is Artificial Turf Safe for Children and Pets? Exploring the Safety of Synthetic Grass
Unveiling the Evolution of Artificial Grass: A Journey Through History